
FaceLCD Hong Kong Limited
Tel: +8615818692944
E-mail: sales@facelcd.com
Address: 13F, Buiding B, Colorful Tech Park, Guanlan High tech park, Longhua Dist, Shenzhen,China ZIP code 518100
You are here: Home > Technology >
Installing a capacitive touch screen driver on Linux does not always mean downloading and running a separate installer. A USB touchscreen may work through existing kernel input support, while an embedded I²C touch panel may require a controller-specific kernel driver, Device Tree configuration, interrupt and reset settings, and additional Android input configuration.
The correct installation process depends on five details: the touch controller IC, communication interface, mainboard, kernel or Android BSP version, and physical wiring. Before looking for a driver package, identify those parts of the system first.
FaceLCD modules may use different touch controllers and interfaces depending on the project. Therefore, there is no single Linux or Android driver procedure that applies to every module.
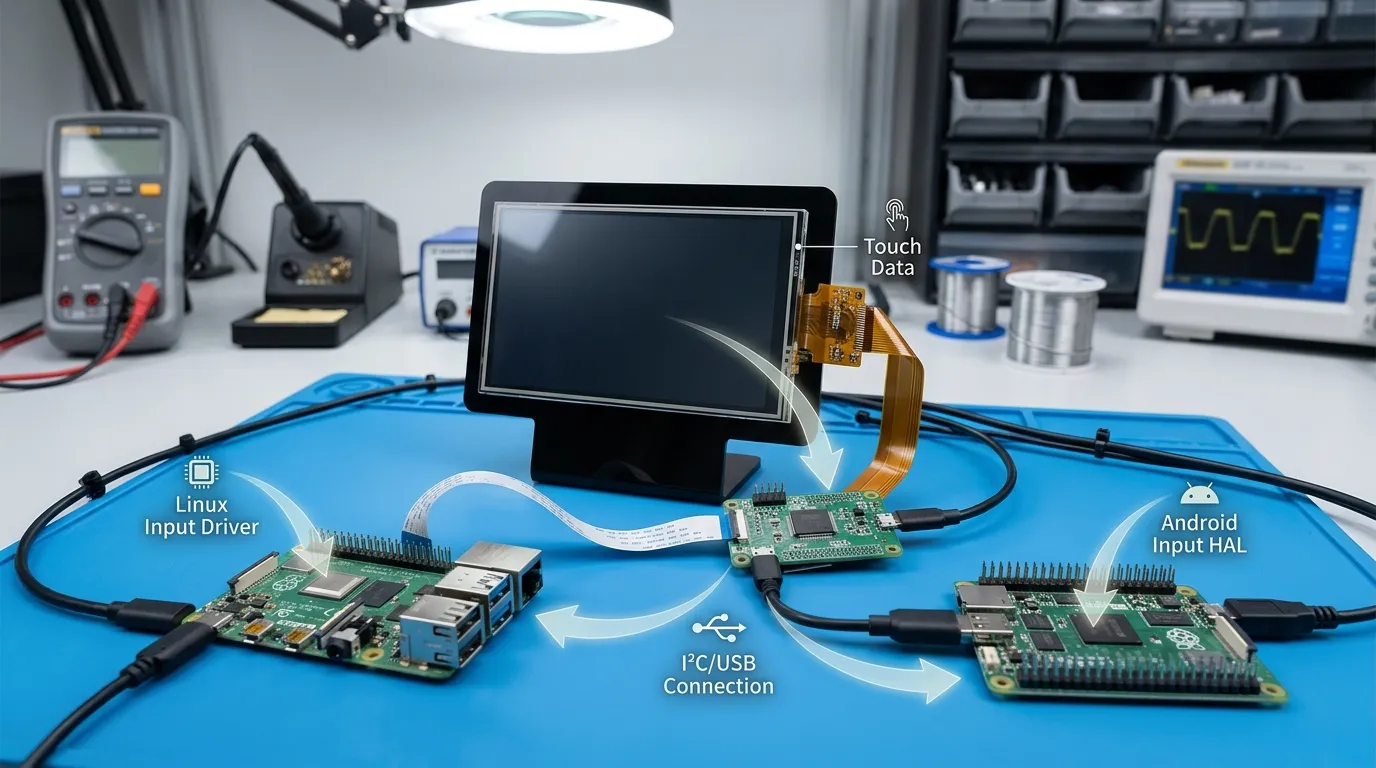
A capacitive touchscreen system contains several connected layers:
This explains why an LCD can display an image while its touch function remains inactive. Video output and touch input normally use separate signal paths. HDMI, LVDS, MIPI DSI, or eDP may carry the image, while USB or I²C carries the touch data.
The touch controller IC—not the LCD size or glass structure—usually determines which Linux touchscreen driver is required. A 10.1-inch panel using a GOODIX controller needs a different integration path from a similar-sized panel using an ILITEK or EETI controller.
For more background on how the sensor and cover-glass layers are constructed, see this guide to G+G capacitive touch screen structure.
The word “driver” can refer to several different components:
.idc file: Tells Android how to classify and map the input device.A touchscreen can therefore have the correct kernel driver but still fail because its Device Tree entry, GPIO configuration, Android mapping, or physical wiring is incorrect.
Do not start by downloading a random Linux driver. First collect the hardware and software information needed to identify the correct path.
Confirm the following:
You also need:
| Required Detail | Example | Why It Is Needed |
|---|---|---|
| Controller IC | GT911, GT928, ILI2511 | Determines the kernel driver family |
| Interface | USB or I²C | Determines the installation path |
| Kernel version | Exact build version | Determines available driver support |
| Mainboard | Exact board and SoC | Determines bus and GPIO configuration |
| I²C address | Datasheet-confirmed value | Required for controller probing |
| IRQ and reset pins | Board schematic values | Required for startup and event reporting |
| Display resolution | 1280 × 800 | Needed for coordinate mapping |
| Android BSP | Vendor and branch | Determines where configuration must be added |
When selecting a module, the touch screen controller IC should be reviewed together with the target operating system and mainboard.
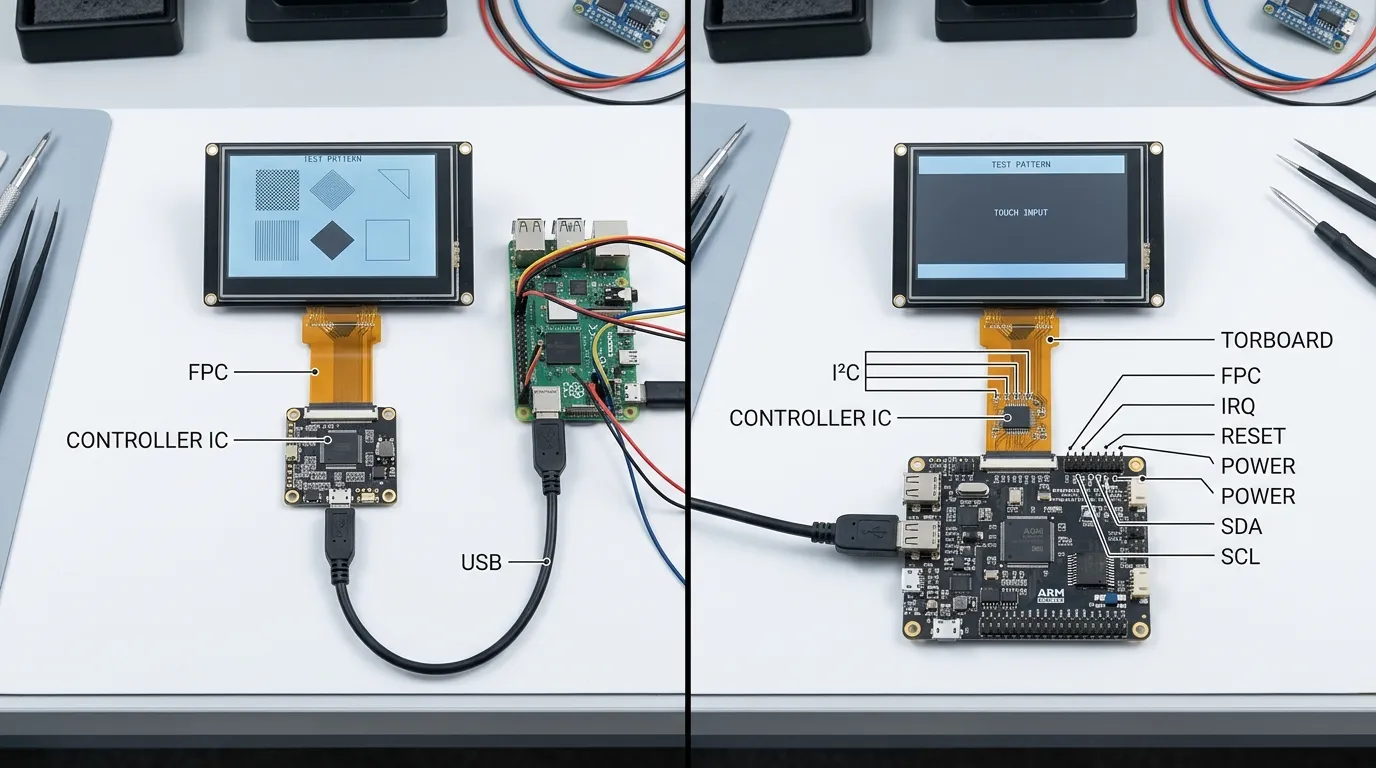
USB and I²C touchscreens can provide similar user experiences, but their Linux and Android integration processes are different.
| Factor | USB Touchscreen | I²C Touchscreen |
|---|---|---|
| Connection | USB cable or USB interface board | Direct board-level bus |
| Detection | USB enumeration and input logs | I²C probing and Device Tree |
| Driver path | Often standard HID or existing input support | Controller-specific kernel driver |
| Device Tree | Usually not required for external USB | Commonly required |
| IRQ and reset setup | Often handled by the USB controller board | Usually configured on the mainboard |
| Portability | Easier to move between systems | Closely tied to the board and BSP |
| Integration effort | Often lower | Usually higher |
| Common failure | Enumeration or display mapping | Address, GPIO, power, driver, or Device Tree |
A USB touchscreen is often the simpler option for prototypes, industrial computers, and systems where an available USB port is acceptable. An I²C panel is more common in compact embedded products where the touchscreen is integrated directly into the mainboard.
These are typical patterns, not guarantees. Some USB controllers still require special support, while some I²C controllers are already well supported by the selected kernel.
Verify the FPC orientation, connector pinout, power voltage, and signal voltage before changing software.
For an I²C touchscreen, check:
A reversed FPC, incorrect voltage, or floating interrupt pin can look like a Linux driver problem. Do not continue software debugging until the electrical connection has been checked against the module drawing and mainboard schematic.
After booting, inspect the kernel log:
dmesg | grep -i -E "touch|goodix|ilitek|input|hid|i2c"For a USB touchscreen, check USB enumeration:
lsusbTo view registered Linux input devices:
cat /proc/bus/input/devicesOn systems using libinput:
libinput list-devicesA successful result normally shows the controller or touchscreen as an input device with an associated event node such as /dev/input/event3.
If a USB device appears in lsusb but not in the input-device list, the USB connection is working but the correct input driver may not be bound.
If an I²C controller does not appear in the kernel log, investigate power, address, Device Tree, reset, interrupt, and bus configuration.
Check whether the selected kernel already contains support for the controller family.
Depending on the system, the driver may be:
Search the current kernel configuration where available:
zcat /proc/config.gz | grep -i -E "GOODIX|ILITEK|TOUCHSCREEN"Some systems store the configuration under /boot instead:
grep -i -E "GOODIX|ILITEK|TOUCHSCREEN" /boot/config-$(uname -r)GOODIX GT911 and GT928 controllers are commonly associated with the Linux Goodix touchscreen driver family. ILITEK ILI2511 belongs to the ILITEK 25xx controller family. Exact support still depends on the kernel version and implementation.
Prefer an upstream or BSP-maintained driver where possible. A random out-of-tree driver written for an old kernel may fail to compile, use outdated APIs, or create maintenance problems during future updates.
There are three common cases.
The driver is already built in:
Reboot with the correct hardware description and inspect dmesg. No module-loading command is required.
The driver is available as a module:
Load it using the module name supplied by the kernel or BSP:
sudo modprobe <module_name>Then inspect the log and input-device list again.
The driver is not enabled or available:
Enable the correct touchscreen option in the kernel configuration, rebuild the kernel or module, deploy it to a development unit, and keep the previous working image available for rollback.
Do not assume that compiling the driver alone is enough. An I²C controller may still require a correct Device Tree node before the driver can probe it.
An embedded I²C touchscreen normally needs a board-specific hardware description. The exact properties depend on the controller driver and kernel version, but the entry may include:
A simplified structure may look like this:
touchscreen@xx { compatible = "controller-specific-string"; reg = <0xXX>; interrupt-parent = <&gpio_controller>; interrupts = <GPIO_NUMBER IRQ_TYPE>; reset-gpios = <&gpio_controller GPIO_NUMBER GPIO_FLAGS>; };This is only a structural example. Do not copy the address, compatible string, GPIO numbers, polarity, or interrupt type from another board. Use values from the controller documentation, module drawing, mainboard schematic, and kernel binding requirements.
Before deployment:
After booting, check the kernel log before trying desktop calibration. Probe errors often reveal incorrect addresses, missing regulators, reset failures, or interrupt problems.
Use evtest to inspect the registered touchscreen:
sudo evtestSelect the touchscreen event node and check whether pressing the panel produces:
If evtest reports correct events, the kernel-level driver path is functioning. A remaining problem is more likely related to display mapping, rotation, the desktop environment, or the application.
If no events appear, return to the driver probe, interrupt, reset, wiring, and firmware checks.
Touch coordinates and display orientation are not always controlled by the same layer.
A rotated display may require separate input mapping in:
Do not apply X11 commands to a Wayland-only system or assume a desktop calibration tool will fix incorrect coordinates coming from the controller.
First confirm the raw coordinate range with evtest. Then apply rotation or mapping at the appropriate software layer.
Android depends on the underlying Linux kernel input subsystem. If the kernel does not register the touchscreen correctly, an Android configuration file cannot fix it.
Check:
Use adb shell dmesg where permitted, or collect the kernel log through the platform’s normal debugging method.
geteventList Android input devices:
adb shell getevent -plMonitor live events:
adb shell getevent -ltConfirm that the expected event node reports changes when the screen is touched. Check that the device exposes absolute X and Y axes rather than only relative mouse-style movement.
If getevent shows no events, the problem is below the Android framework level. Recheck the kernel driver, Device Tree, interrupt, reset, and wiring.
.idc File Is NeededAndroid may automatically classify a standard touchscreen, but built-in embedded panels often need an input-device configuration file.
An .idc file can help Android determine:
The file name must match Android’s input-device identification rules. Its location also depends on the Android version and system image structure.
Do not copy an .idc file based only on panel size. Match it to the actual controller name and device identity reported by Android.
Inspect the input service:
adb shell dumpsys inputReview:
This helps separate a kernel-level problem from an Android-framework mapping problem.
Temporary shell changes are not enough for production.
Add the required configuration to the appropriate Android BSP or vendor image so that it survives:
Confirm the correct partition, build-system path, ownership, and permissions for the Android version being used.
Test more than one center-screen tap. Verify:
A device that works in a diagnostic tool may still fail in the actual application if display association or orientation is wrong.
A typical USB integration follows this process:
lsusb to confirm USB enumeration./proc/bus/input/devices for the touchscreen.evtest to confirm coordinates and contact events.A USB touchscreen may require no downloadable vendor installer. However, orientation, display mapping, or multi-monitor assignment may still need configuration.
For a GOODIX GT911, GT928, ILITEK ILI2511, or similar controller:
evtest or getevent to confirm raw touch events..idc configuration if Android maps or classifies the device incorrectly.Do not assume that a Device Tree example for one GT911 or ILI2511 board will work on another. Mainboard GPIO assignments, controller configuration, addresses, and reset behavior may differ.
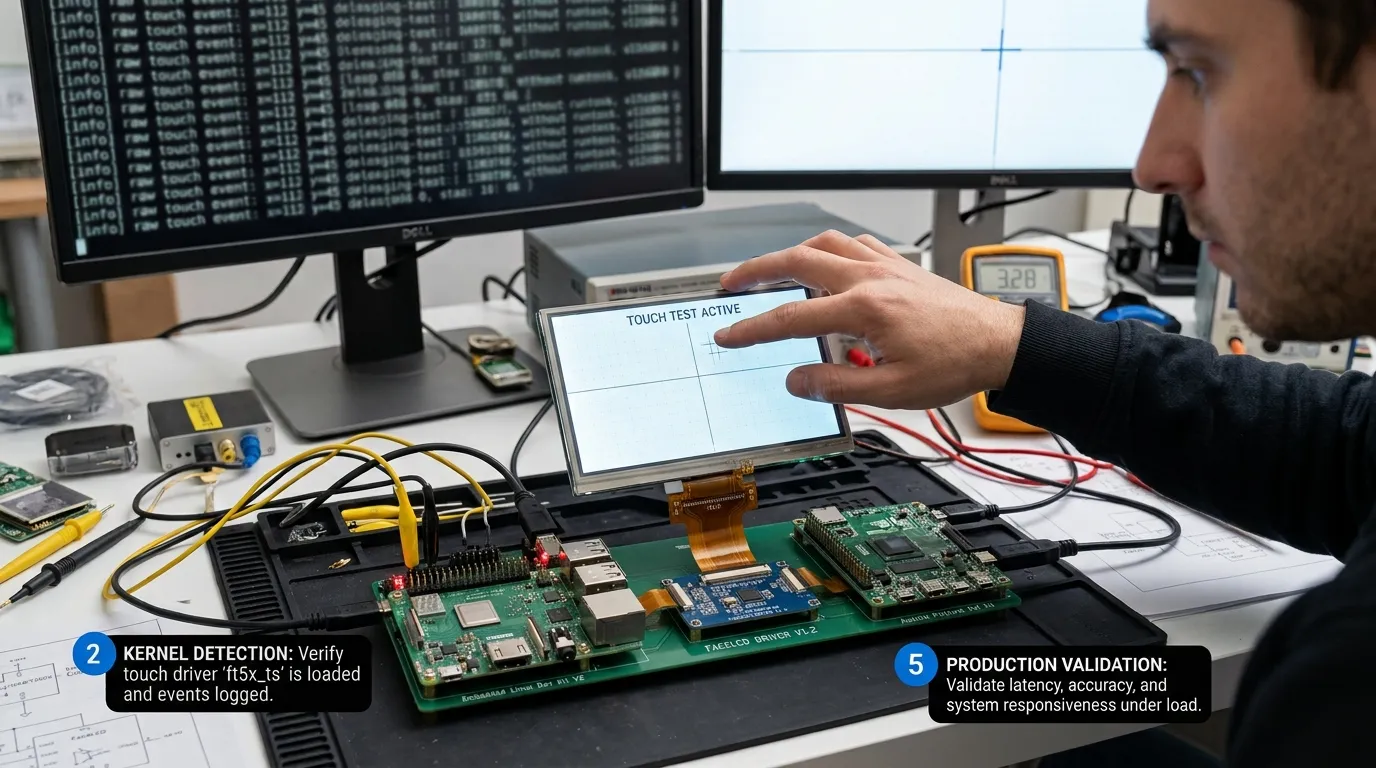
| Symptom | Likely Layer | What to Check |
|---|---|---|
| No display and no touch | Power or system | Power rails, mainboard, cables |
| Display works but touch is absent | Touch hardware or driver | Touch cable, USB/I²C detection, FPC, driver |
| I²C device exists but no input device appears | Driver binding | Compatible string, address, kernel option, probe log |
| Driver reports interrupt errors | GPIO or Device Tree | IRQ pin, polarity, pinctrl, interrupt type |
| Driver loads but produces no events | Controller state | Reset sequence, interrupt activity, firmware |
| Touch is mirrored | Coordinate mapping | X/Y inversion and display orientation |
| X and Y are exchanged | Coordinate mapping | Axis-swap property or application mapping |
| Touch is offset | Resolution or calibration | Coordinate range, active area, display dimensions |
| Single touch works but multi-touch fails | Driver or firmware | MT slots, tracking IDs, controller capability |
| Ghost touches appear | Hardware or environment | Grounding, EMI, power noise, water, sensitivity |
| Linux events work but Android UI does not | Android input layer | .idc, classification, display association |
| Touch stops after reboot | Deployment | Module loading, Device Tree, vendor-image integration |
| Sample works but production units differ | Revision control | Controller, firmware, FPC, BSP, hardware revision |
False touches in wet conditions may require controller tuning, grounding, cover-glass review, or a waterproof capacitive touch panel design. They are not always caused by the Linux driver.
.idc files before verifying kernel events.idc file savedNot always. Many USB touch controllers use existing HID or Linux input support. Check lsusb, the kernel log, and /proc/bus/input/devices before installing a separate package.
Check the module specification, touch-panel drawing, controller label, FPC documentation, or project BOM. FaceLCD can also review the exact module model and project requirements.
Linux kernels commonly include support for the Goodix touchscreen controller family. Compatibility still depends on the kernel version, Device Tree configuration, wiring, and controller implementation.
The ILI2511 belongs to the ILITEK 25xx family, which is supported in some Linux kernels and BSPs. Verify the exact kernel branch, driver configuration, controller interface, and Device Tree requirements.
The image and touch signals normally use different interfaces. The LCD may receive video correctly while the USB or I²C touch connection, controller driver, interrupt, reset, or input mapping remains incorrect.
.idc file?An input-device configuration file tells Android how to classify and map a specific input device. Embedded touchscreens may need one for touchscreen behavior, display association, orientation, or coordinate handling.
First verify the raw X and Y values with evtest or getevent. Then correct the mapping in the Device Tree, Linux display environment, Android .idc file, compositor, or application layer, depending on where the mismatch occurs.
No universal package should be assumed. Driver requirements depend on the controller IC, interface, mainboard, kernel or Android BSP, and wiring. Available documentation or compatibility support should be confirmed for the exact module and project.
Before selecting or integrating a capacitive touch module, prepare the module model, controller IC, interface, mainboard, kernel or Android BSP version, FPC requirements, and display drawing. FaceLCD can review the proposed hardware combination and confirm which technical documents or compatibility information are available for the specific project.